Wire modelling
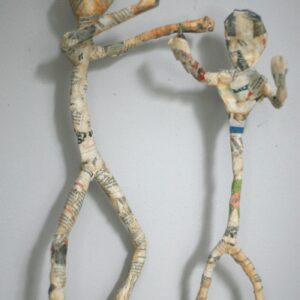
Week 1: So, I had a request to do some wire modelling with my Tuesday evening class…. a few months ago we did a very brief activity as part of a bigger holiday workshop session – I introduced the idea of sculpting wire figures and using papier-mâché to form simple shapes and make creatures and faeries (click here). This summer term workshop was the perfect opportunity to explore these processes more. And it’s a great combination of a ‘technical’ challenge and creative exploration. Previously I have either designed my own sculpture or taken some guidance from the numerous tutorials available on YouTube. After a bit of searching I found a super simple tutorial which I have adapted for the purpose of this workshop. For anymore wanting to have a go here’s the link.
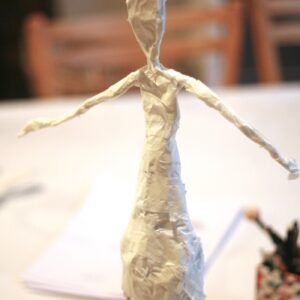
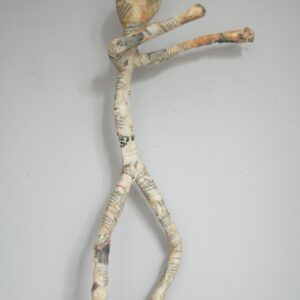
First off, we spent a little while looking sketching simple stick figures in different poses – standing, running, jumping, dancing. . . we then turned our attention to the sculptures of Giacometti – focusing on the simple forms with elongated limbs and featureless faces…. just to ensure the young artists didn’t get overly concerned with making a sculpture which looked like a ‘real’ person, so their focus could be on the process rather than a ‘perfect’ end product.
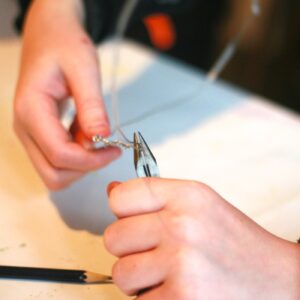
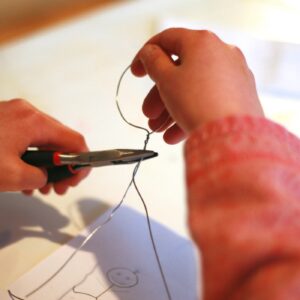
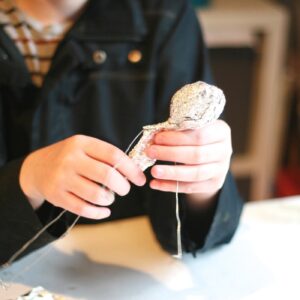
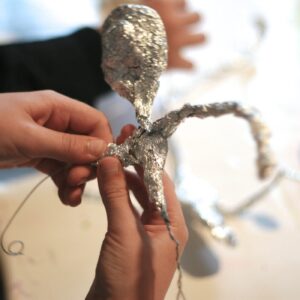
So the young artists very diligently followed my instructions and after persistence everyone managed to create a simple frame for the figures and then we started to add tin foil to the frames to add shape and contours. Amazing work from everyone as some of the process can be quite tricky for little hands.
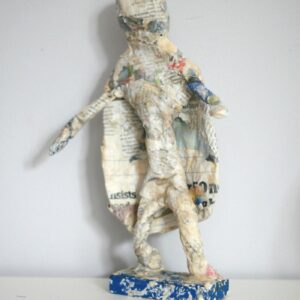
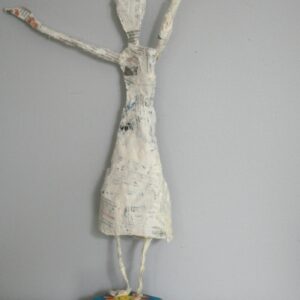
Week 2: The young artists started this week by continuing to add form to the wire skeleton frame. They used tin foil to build up body shapes, and then secured this with masking tape. The figures were still very flexible at this stage so different poses were played with, as well as deciding whether the figure would be mounted on a block, or placed in a box. Some of the children also added additional features, such as cloaks and skirts. A good variety of different ideas were developed and everyone decided they would like to use papier-mâché rather than air-drying clay to complete their figures next week.
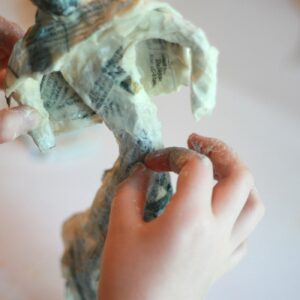
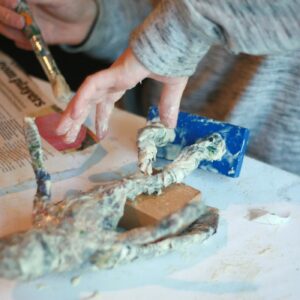
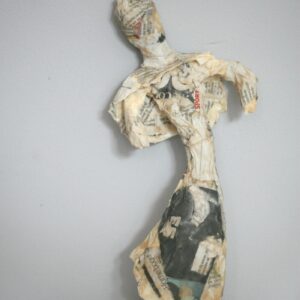
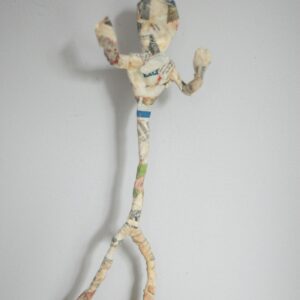
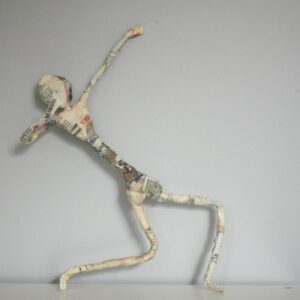
Week 3: The papier-mâché building commenced! It was a bit ooey-gooey for some and also a bit tricky… but they persevered and started to make their sculptures more solid. We started off by attaching some of the figures to wooden blocks so that the shape and position of the bodies could be manipulated to make them stand, while the papier-mâché was still wet. We discussed leaving the sculptures with the newspaper finish or perhaps painting them a metallic colour to be a little more like the sculptures of Giacometti. All the young artists are coming back to my Summer Art Camp during the holidays so they will decide then how to finish off the figures. After the workshop, I baked the sculptures on a low heat in the oven – to speed up the drying process and to make them rock hard. I totally love the variety of poses – each reflecting the individuality of the young makers.
