Butterflies: Pattern, Mark making and Colour
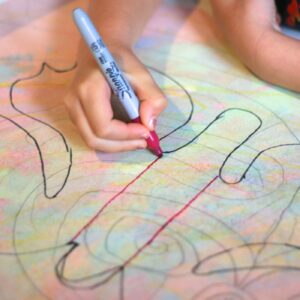
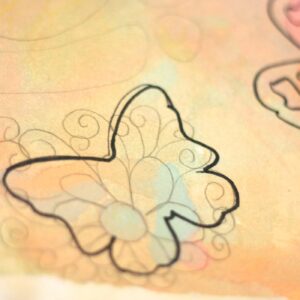
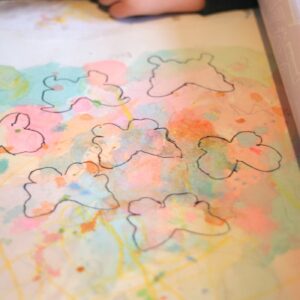
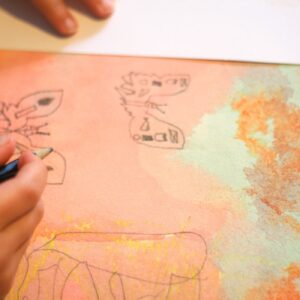
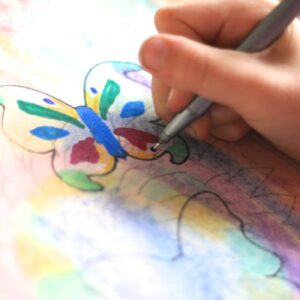
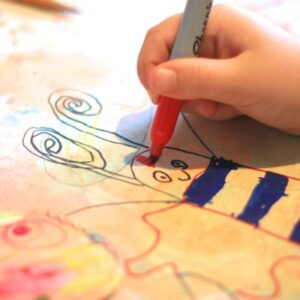
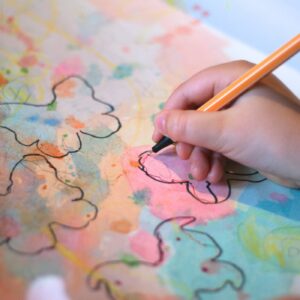
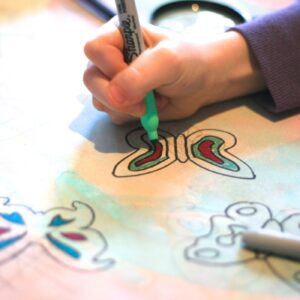
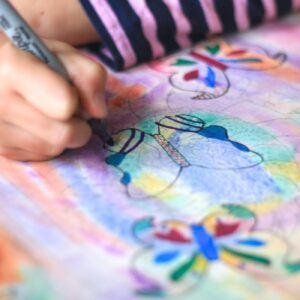
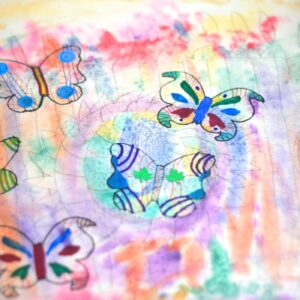
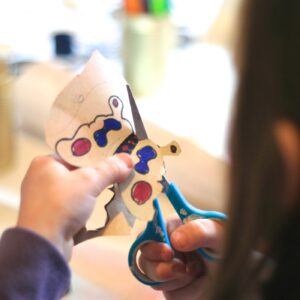
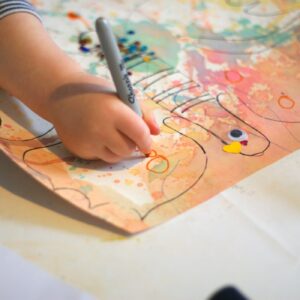
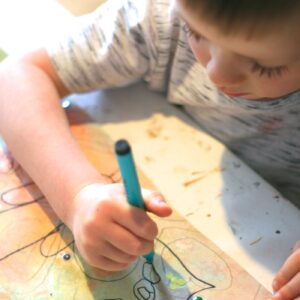
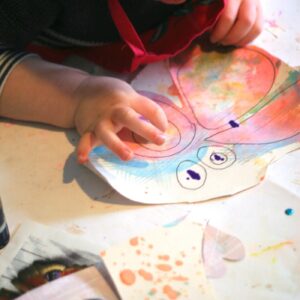
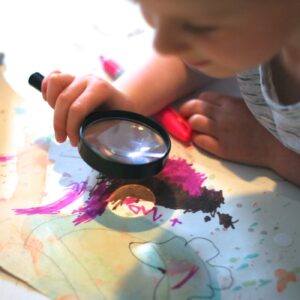
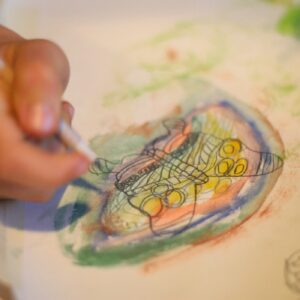
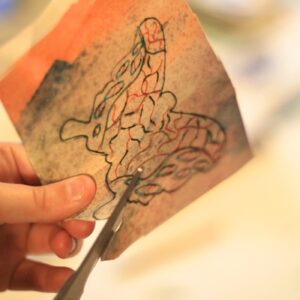
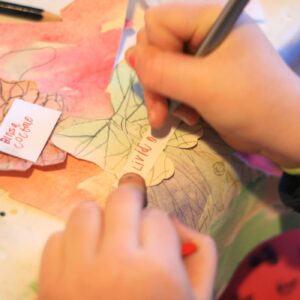
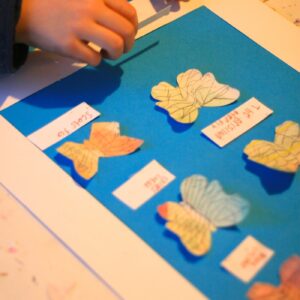
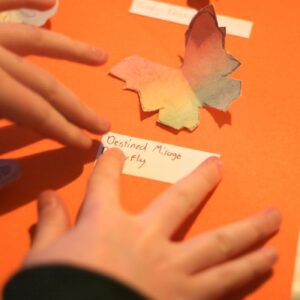
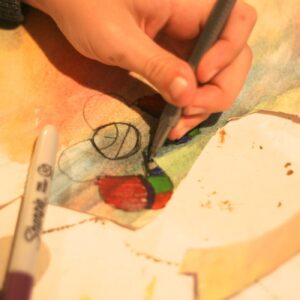
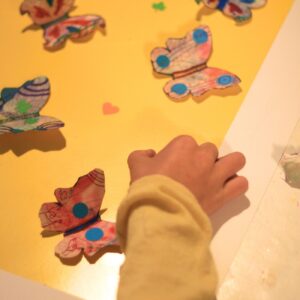
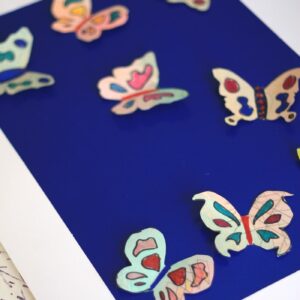
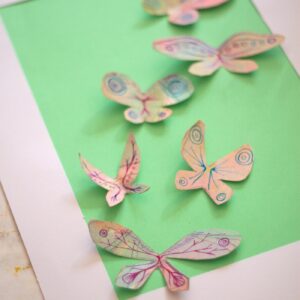
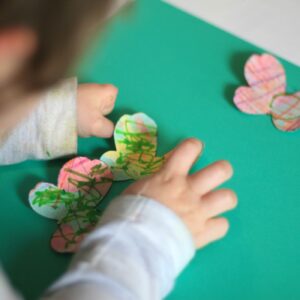
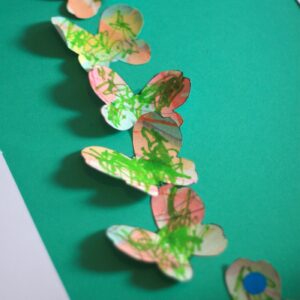
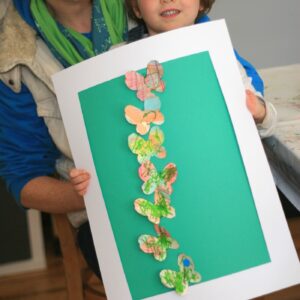
Week 2: So, after the colourful fun of week 1, it was time to start turning the beautiful patterned paper into something that looked like butterflies or moths. The young creatives were again shown images of butterflies to get further inspiration for patterns and shapes. Using the prepared paper, the children were encouraged to either draw large or small butterflies onto their paper – stencils were available for those who wanted to use these. For the preschoolers, the parents did the tricky cutting out while the wee ones directed which bit of paper to use and then further embellished their butterflies. The young creatives were given a choice of creating either: a scene of flying butterflies, something that looked like the butterflies you see on display in museums or one large butterfly. For fun, some of the older children were encouraged to think of Latin-inspired names to call their own special species of butterflies. The butterflies were then embellished further, by either drawing marks and patterns using a variety of fine and thick pens and pencils, or using paper shapes and sequins to add a bit of sparkle. The choice of materials given allowed the children to decide for themselves about how they wanted to develop their butterflies, making it suitable for their age and ability. As the children were encouraged to use their own ideas and preferred process – this meant there was a good variety of styles of paper butterflies.
