Week 1: Yarn wrapped birds & beasties
It’s always great to start the winter workshops, but always so hard trying to chose which of the seasonal activities to do – there so many ideas to chose from. For this winter I returned to a couple of favourites though. For one of my Saturday classes, who are all relatively new to my workshops, I chose to revisit the winter twiggy trees we first did a couple of years ago. This was a favourite with so many of the young creatives as we kept doing activities throughout the year to add to them – from Christmas decorations through to spring birds, butterflies add flowers.
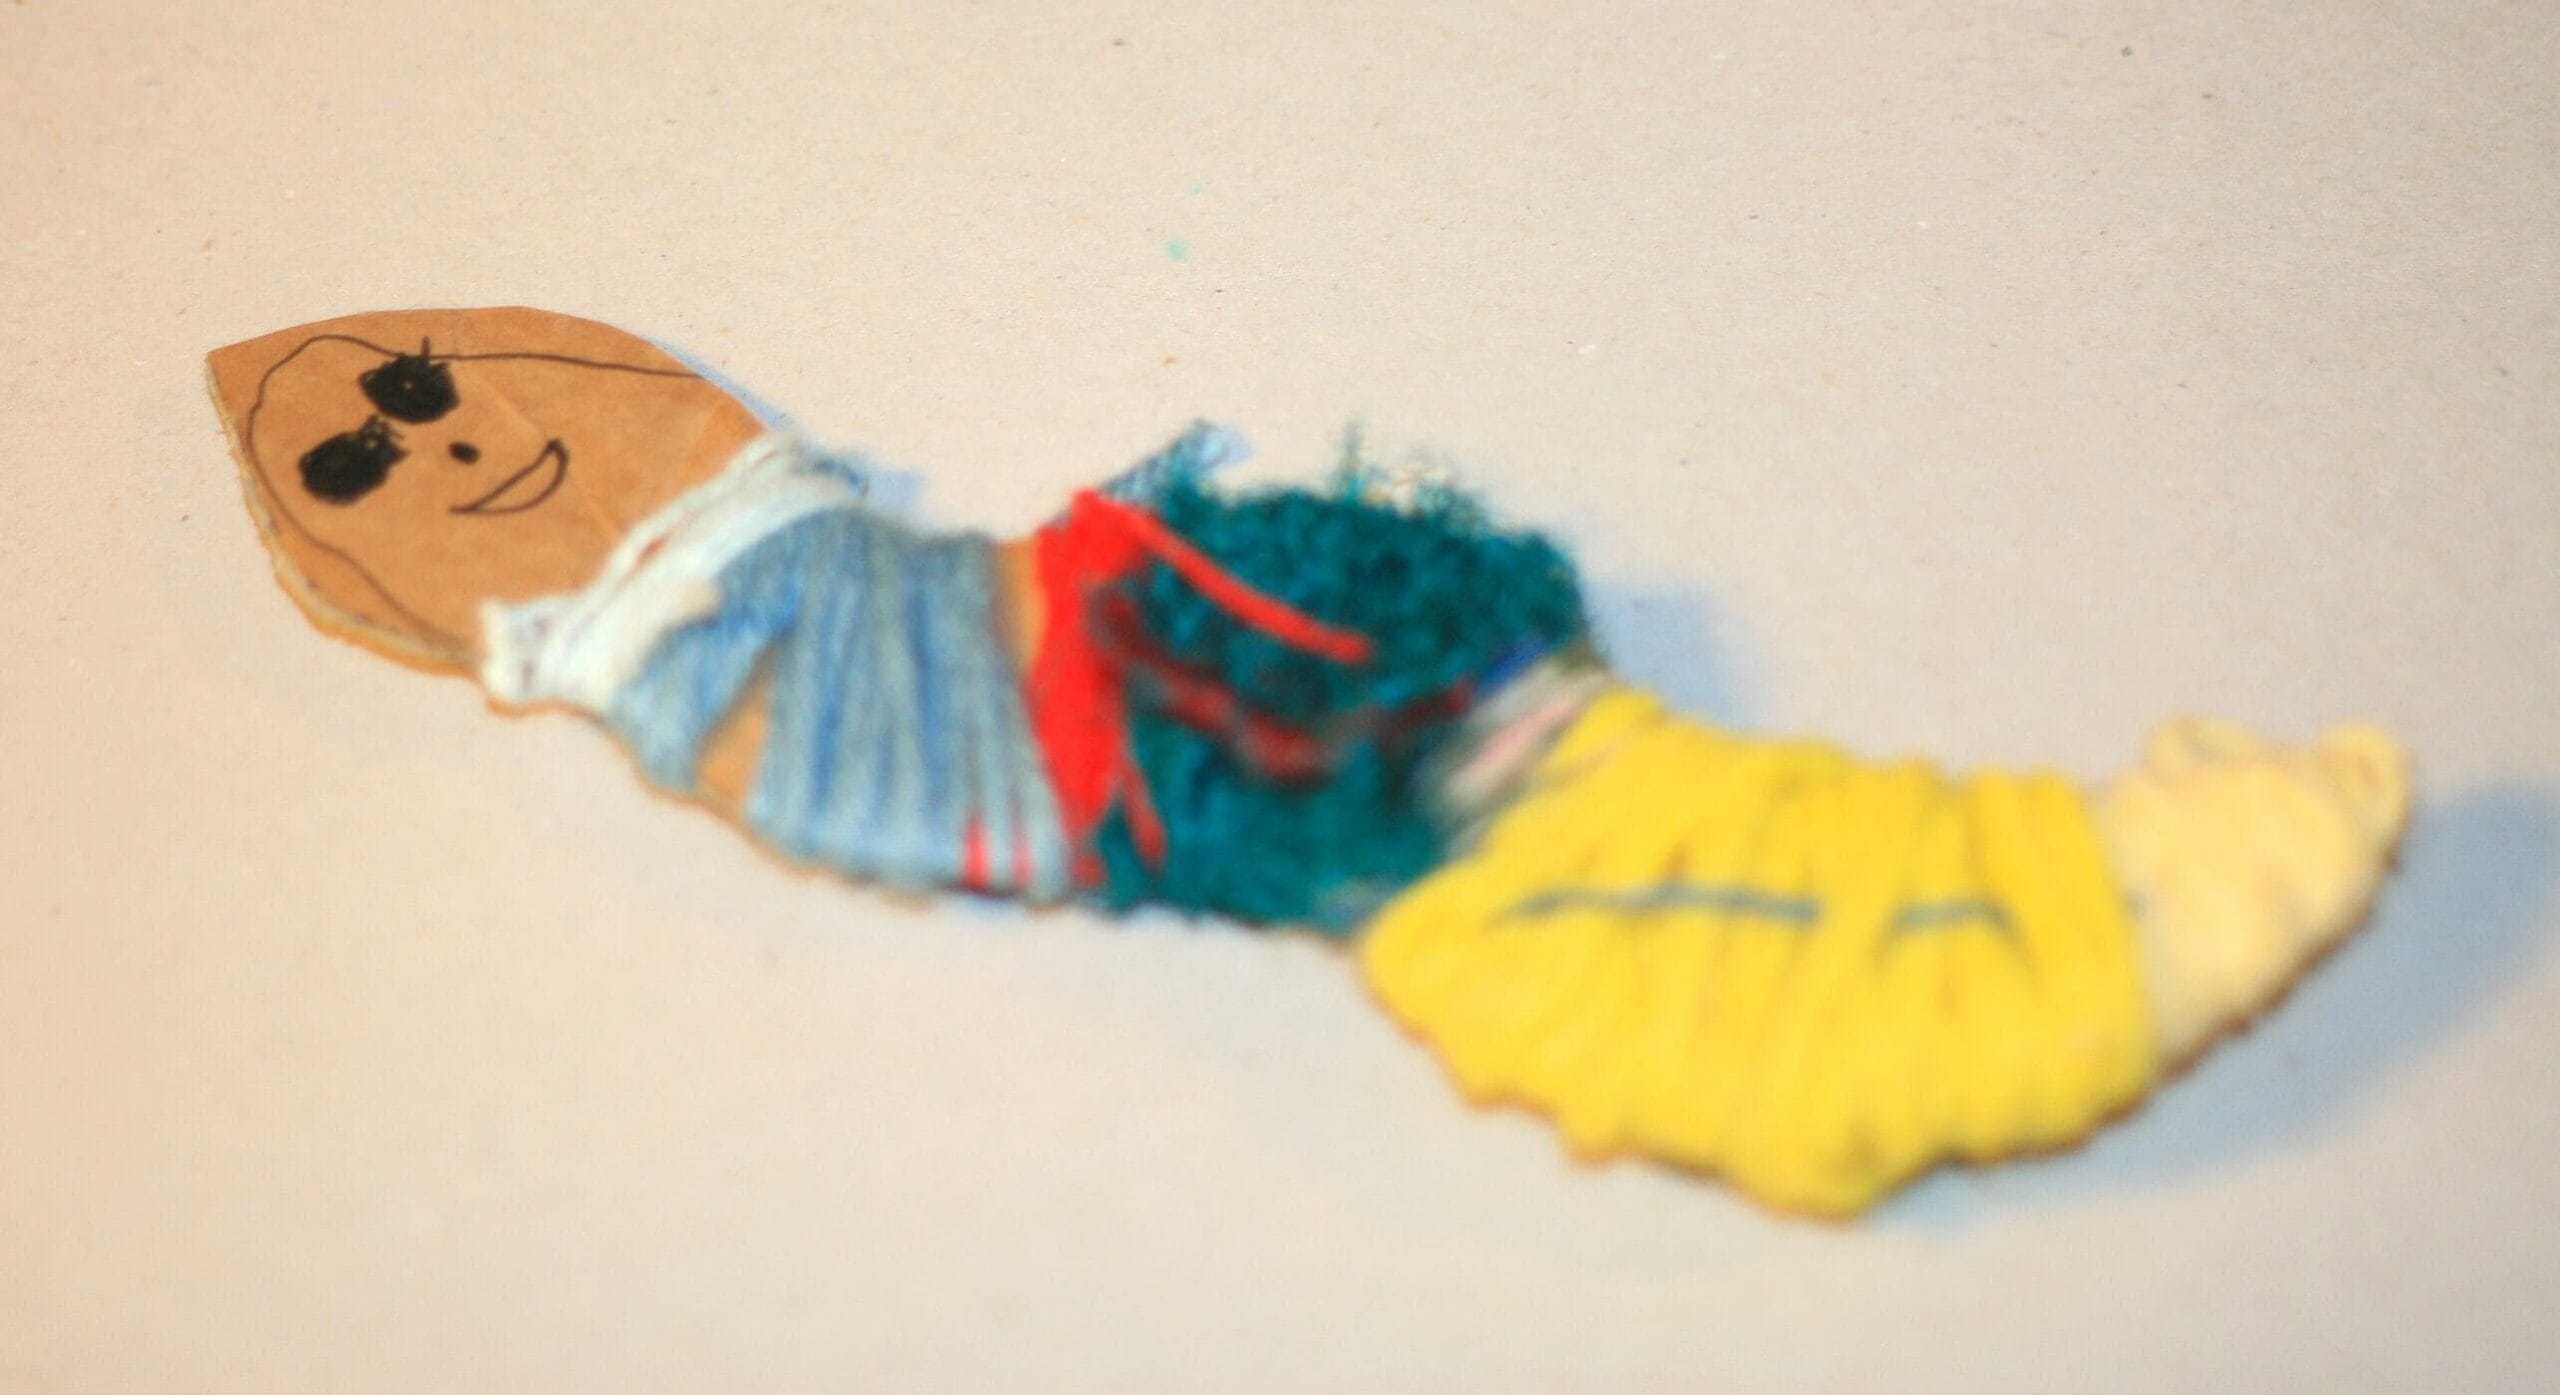
The whole of this 6-week block was dedicated to making the trees and the decorations to go with them. The first week we started off with yarn wrapping activities and birds – two more of my favourite things!! First off we made lovely little robin red breasts, these will sit at the base of the twiggy trees. Once completed the children were invited to make other mini beasties or birds they could find in the garden. This activity is great for the littlest of fingers to get to grips with, and perfect for older child who can refine the patterns they make and the colours they chose. Each child was able to work to their own ability – making as many or as few beasties as they were able, with a variety of styles shining through.


Week 2: Painting the trees and preparing the pots
So week 2 is the messy week – basically putting in the ground work to transform dead twigs into magical winter trees! This involved a lot of paint – either white or blue, and a lot of patience to try and get every little bit of bark covered up with paint. Once completed and transferred over to a safe drying space, the children got to work on the pots which their trees will be ‘planted’ in. For this week, just a coat of paint to provide a fresh base colour for the decorating in week 3. Then the really exciting part will commence as the trees start to come together transform into wonderful keepsakes.


Week 3: Decorating the pots
Week 3 of twiggy tree making – and creating cheery patterned pots. To start the session, I talked over a few ideas with the young creatives about how they might wish to develop their designs. They had a choice as to whether the pots would be wintery and Christmassy, or more year round designs. We looked at bugs and beasties, rainbow colours, Christmas themed designs and spots, stripes and zigzags. Spots seems to be a big favourite as most had dressed in spots the previous day for Children in Need day at school! Before painting commenced, I gave everyone a template of a pot I had drawn out , so they could think about their design and develop their ideas on paper before committing to painting the pot. Other options were also given such as using buttons, pom-poms, sharpies and beads to embellish their designs.
The children chose a variety of colours as well as different ways to apply the paint, some choosing brushes, others sponges, bottle tops and corks for printing and even fingers!! A lovely mix of ideas and lots of gorgeous patterns and colours.


Week 4: Clay decorations
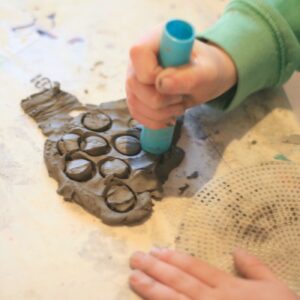
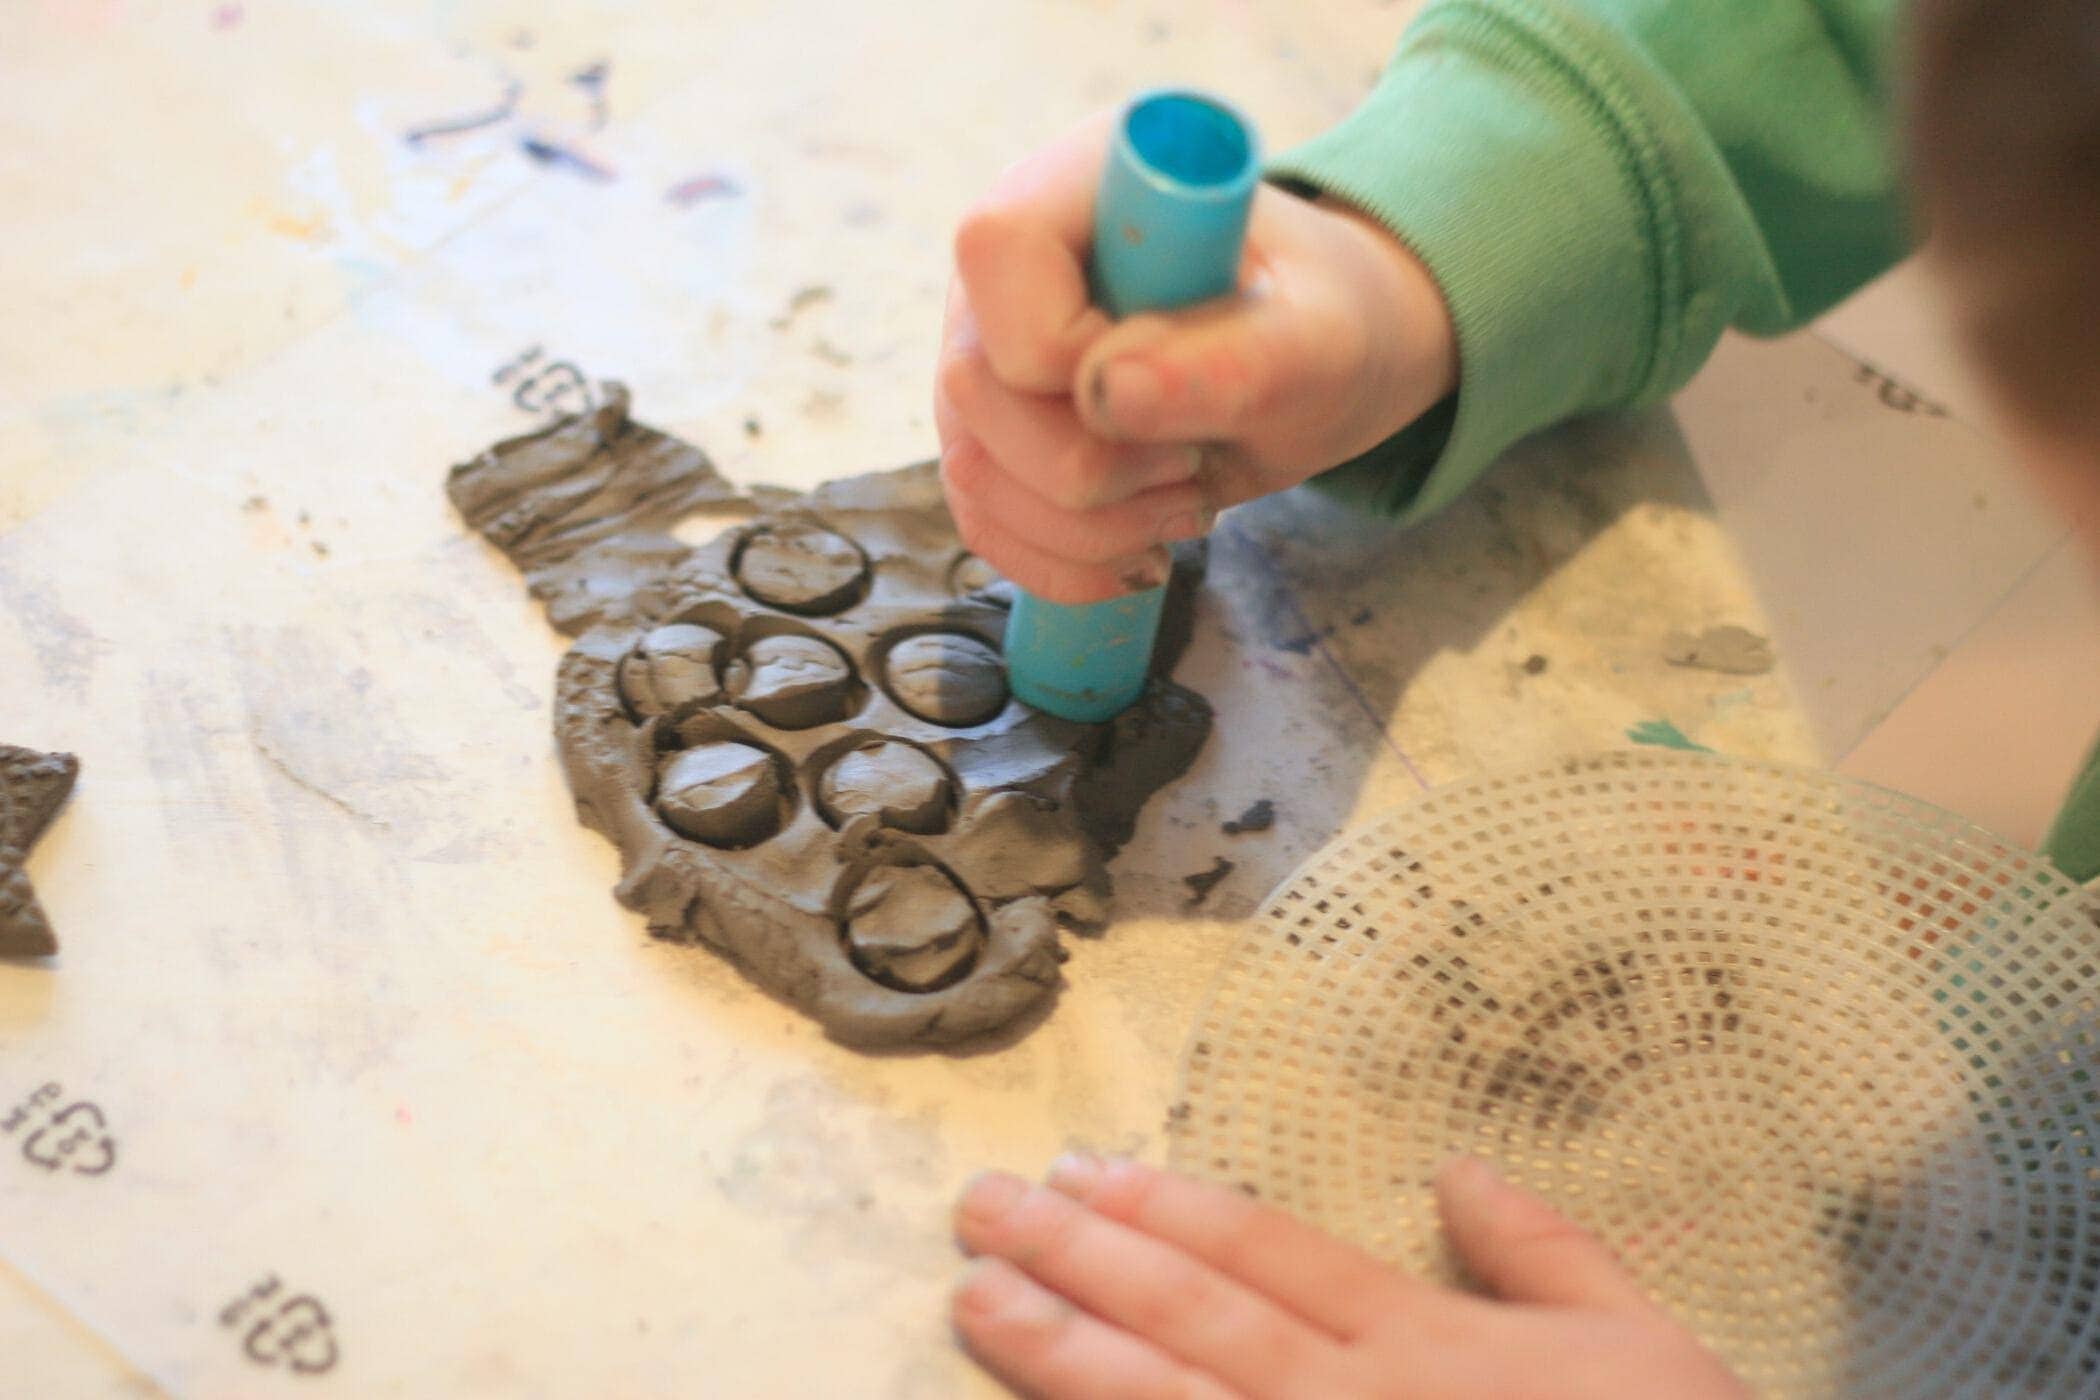
This week was fun with messy gooey clay to make decorations for the twiggy trees. Using all sorts of tools, the children were shown how to make textures and patterns in the clay, and then to use different shaped cookie cutters to cut out the clay to make beautiful decorations. The children absolutely loved the process of making all the marks in the clay, some paying such detailed attention to what they were doing. Some stunning pieces made, but most importantly the children loved using the clay – a first time for many of them!


Week 5: Clay decoration painting
This week was spent carefully painting the clay decorations – everyone got to chose what colours and how they painted them – some chose to keep it simple sticking to one or two colours and letting the textures really stand out. While some of the older children chose to add more detail and really highlight some of the patterns they made, with more intricate painting. A wonderful variety of results.


Week 6: Yarn wrap decorations
The final week saw one more activity to complete the trees and then the final decorating of them. During the week I had ‘planted’ the trees in the pots using florists oasis and Plaster of Paris – this made them nice and sturdy and also allowed me to securely fix the robins from week one at the base of the tree. The children spent most of the workshop making yarn stars – using a similar process for making the red breast of their robins in week 1. Once they had made an amount they were happy with, the children decorated their trees with all the wonderful decoration they had made over the previous weeks. Many had lots of decoration left over to put on their Christmas Tree at home! Beautiful results!


